Uno Due Tre
 OK gearheads, let's talk Moto Guzzi motorcycles.
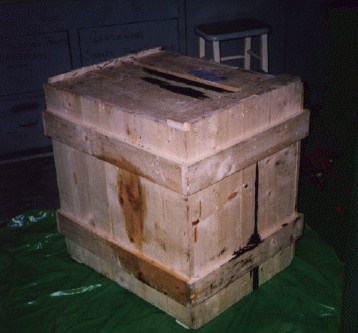
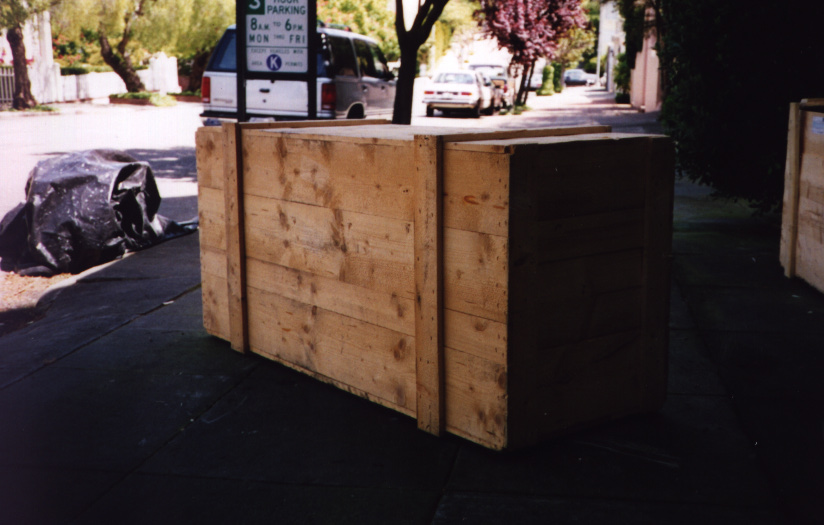
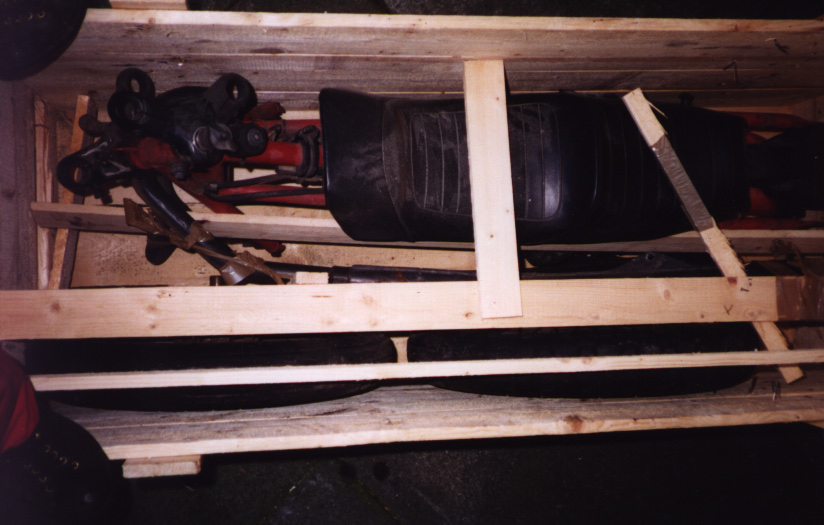
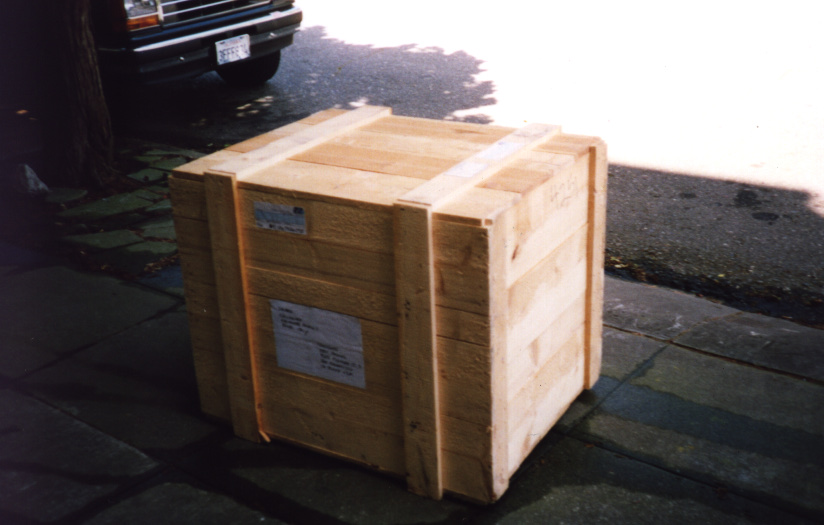
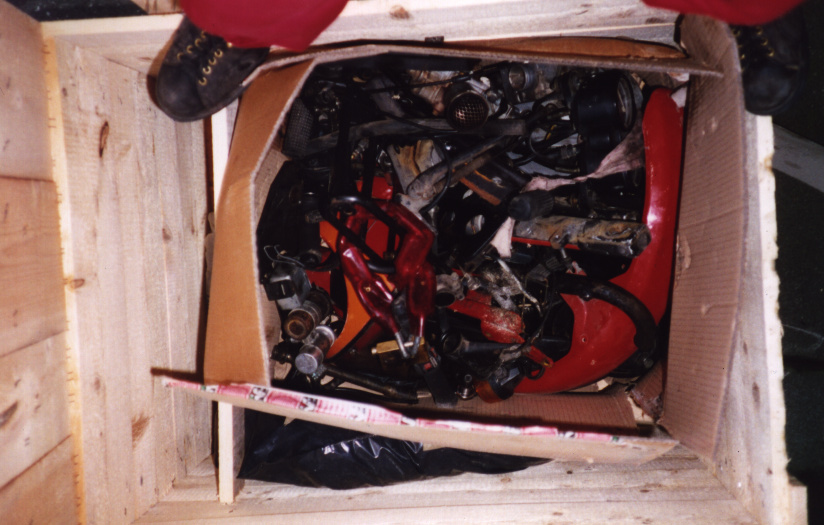
Call it obsessive, but almost every moment that I'm not at the Robotics Laboratory at UC Berkeley, I'm working on completely stripping down and rebuilding my Moto Guzzi LeMans I. The reason for this is that, although it looked like this in Italy. it ended up in three crates:
At 1:37 on 5 October 1994 the LeMans turned over. Needless to say I was quite happy. However, I have been unable to get my tank back from the guy that is suppose to paint it. I should have some new photos in the next few days. Looks great and at least I know that the electircal is all in tack.
Check back later for video.
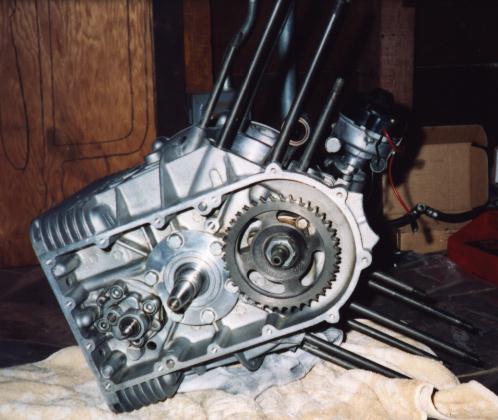
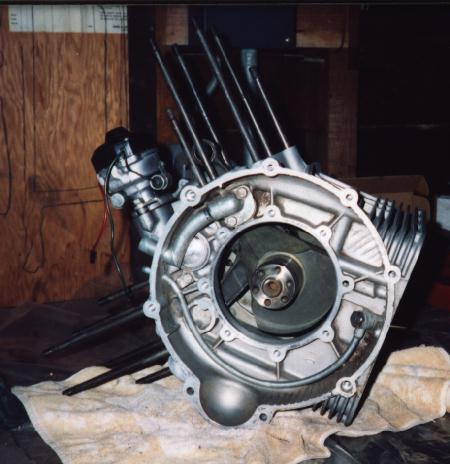
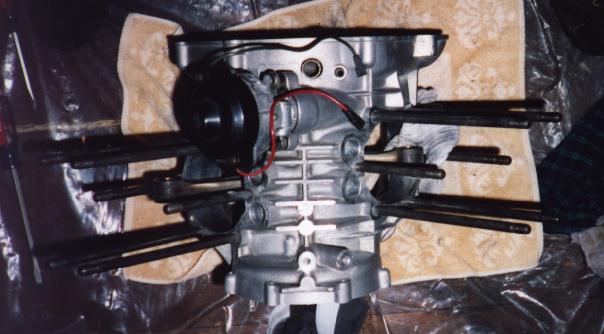
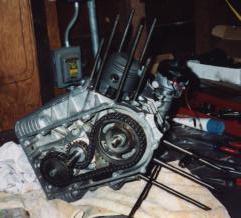
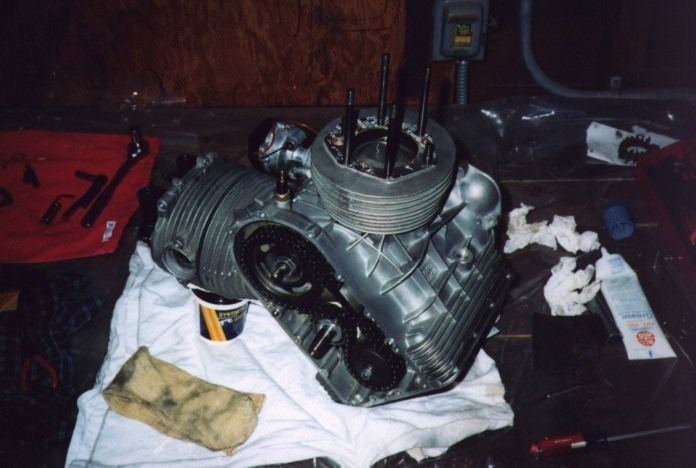
At that point I had the crankcase and crank stripped almost all the way down. About the only thing that didn't come out was the connecting rods and crank. The front, back, top, and bottom of the crankase were all cleaned, preped, and ready to be assembled.
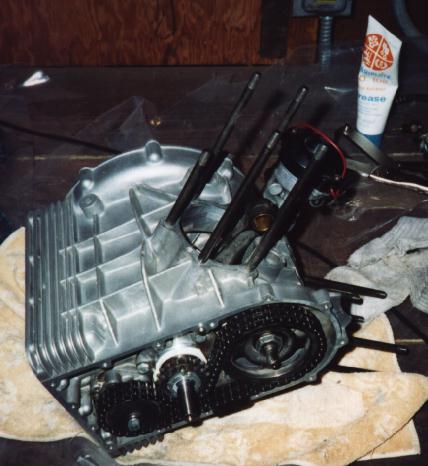
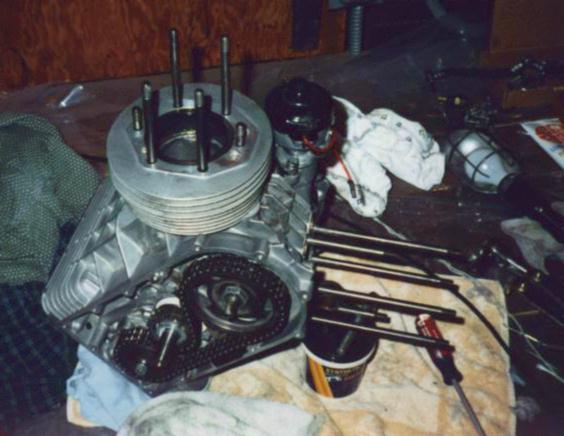
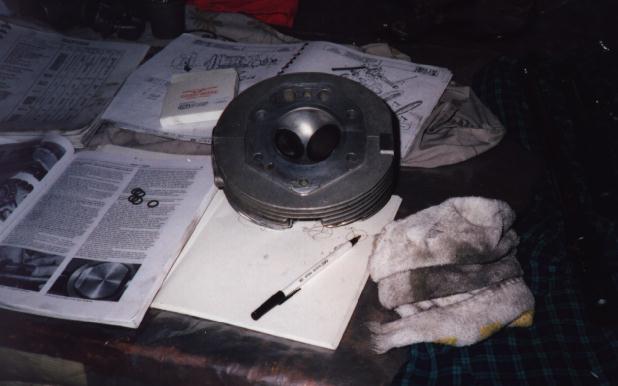
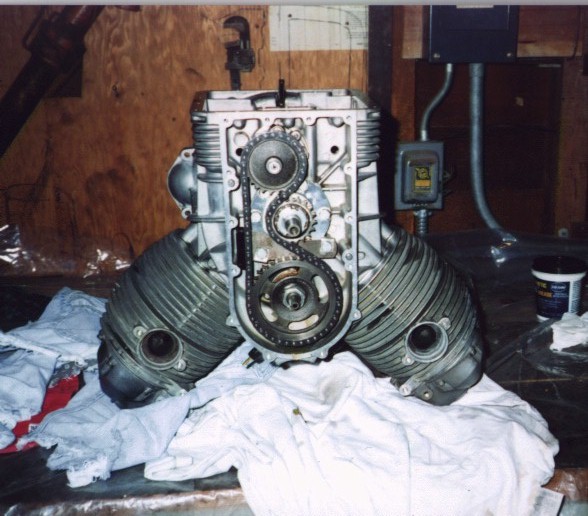
I greased the appropriate parts and put the new timing chain on. Newly coated pistons, rings, and circlips were attached to the connecting rod. Next it was a simple matter to compress the rings and get the cylinder into place with new gaskets, of course. With the carbon deposits being completely cleaned off of the head and valves, the actual assembly of the head and valve rockers was a snap. I repeated this same process for the other cylinder.
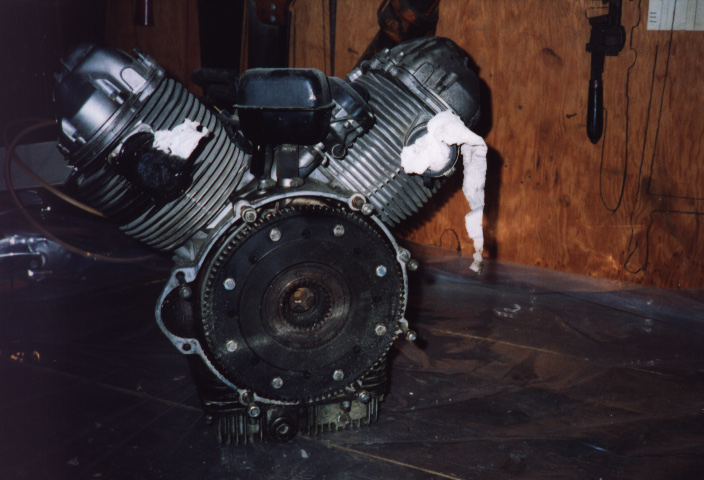
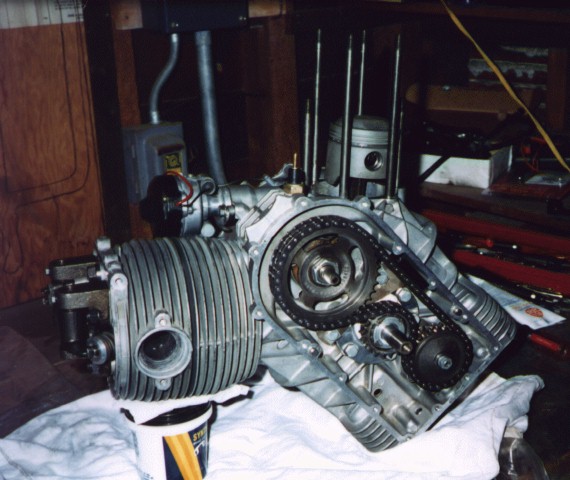
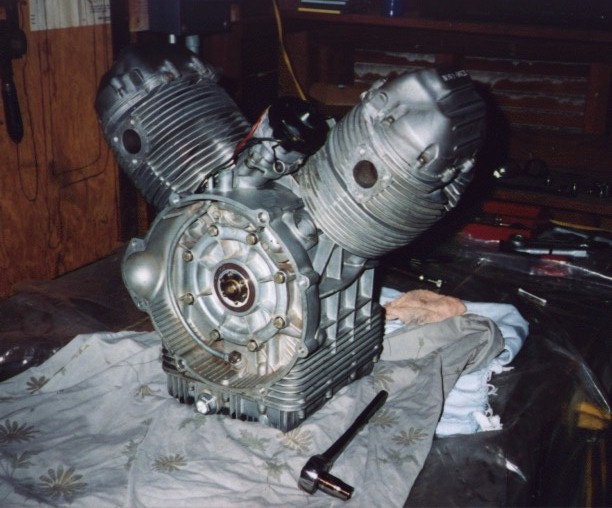
Next, I placed the valve covers on and got ready to seal it up. Of course not without a thorough lubing with grease and oil where appropriate. I replaced the oil sump and looked back -- the motor was finally finished.
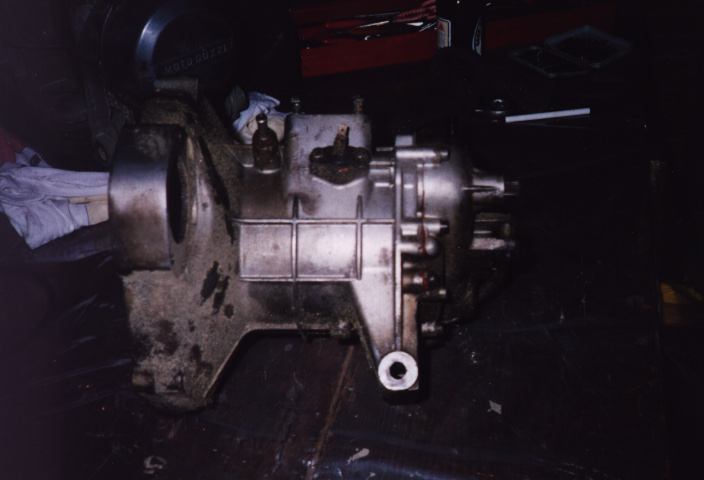
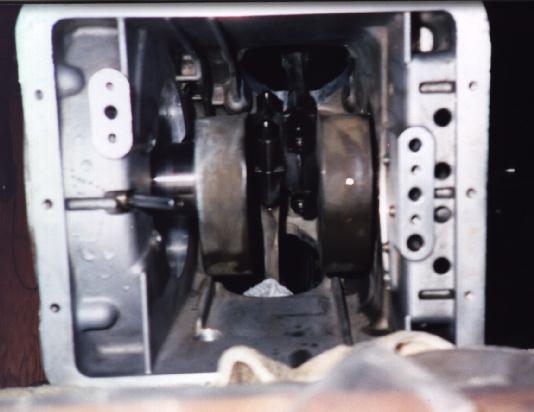
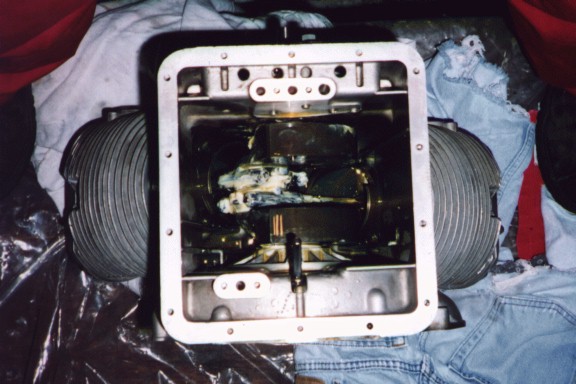
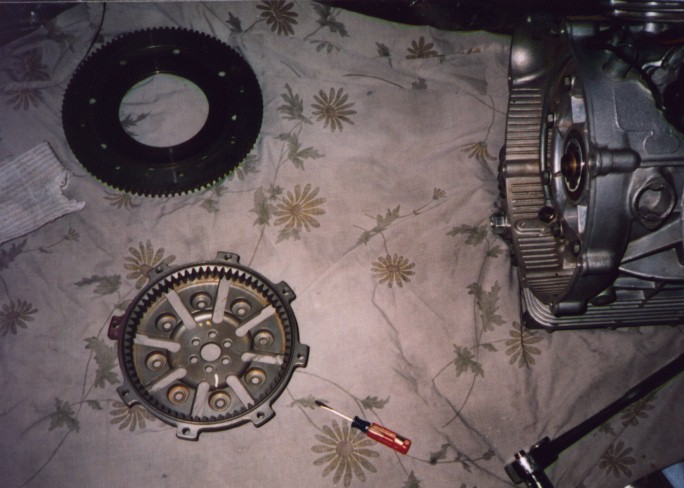
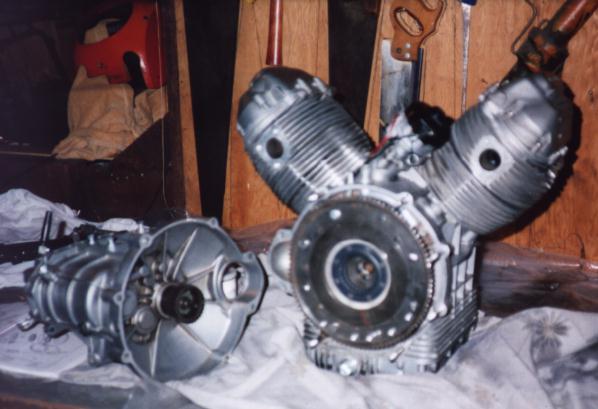
During the time I was cleaning parts, I had my flywheel lightened, and now it was ready to be assembled. I spend the good portion of an evening getting it and the clutch plates all mounted correctly. Finally, the gearbox, which I had worked on several months earlier was ready to mate with his friend
![]() Return to Moto Guzzi Home Page
Return to Moto Guzzi Home Page